Sometimes, especially on weekends, I want to have something to snack on while watching a movie. Microwave popcorn is convenient, but it is hard to pronounce all the ingredients and figure out whether they are dairy-free. And then there’s the whole diacetyl thing that gives me the heebie geebies.
Making your own popcorn really is quite easy, and quite cheap. You can use an air popper, or you can even microwave your own in a paper lunch bag with a little oil. See this recipe here (although I wouldn’t add the salt for this recipe).
3/4 teaspoon table salt (kosher doesn't work for this recipe as well because the grains are too big)
2 tablespoons extra virgin olive oil
Instructions
Pop popcorn in air popper or by your favorite method. Place in a large bowl. In a small bowl, mix together nutritional yeast, chili powder, pepper, and salt.
Sprinkle one tablespoon of oil evenly over popcorn, then sprinkle with half of nutritional yeast mixture. Stir to combine. Repeat with remaining oil and nutritional yeast mixture. Enjoy!
Notes
I've heard of using cooking spray to coat the popcorn instead of olive oil. This would make for a more even distribution, but again, too many chemicals involved in that. A olive oil spray pump would work very well though if you have one.
By One Fine Tomato
One Fine Tomato http://onefinetomato.com/
I know I have said I’m not a fan of nutritional yeast sauces, but when used dry, in moderation, and in conjunction with other spices, it really does give a nice cheesy taste. Nutritional yeast is actually nutritional as well in that it provides a good source of B12, and it’s also high in protein and fiber.
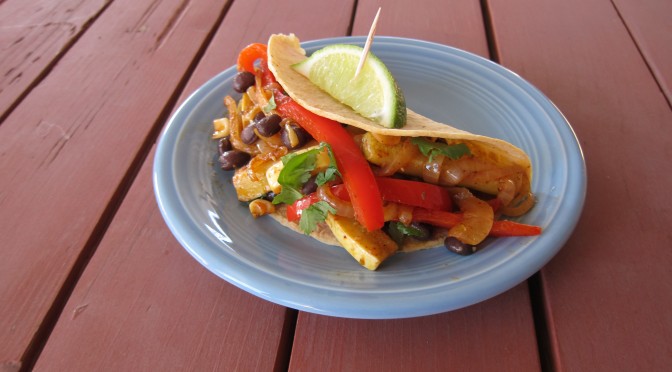
One of the few types of restaurants I can go to is mexican. I have to ask to have no cheese or sour cream and I’m usually okay. Although it seems chefs just can’t seem to stop themselves from sprinkling cojita on the side of beans (but they are always willing to correct that). One dish that I usually get is fajitas, but it seems like the veggies are often swimming in oil.
So I decided to try my hand at them. It’s slightly adapted from this fajita recipe. I changed the red wine vinegar to lime juice, eliminated the green peppers (never been a big fan), added more red peppers and onions (which I love), and changed the spices a little bit. The result is a super flavorful, healthy dish where you don’t miss the fat or meat. This is one my favorite recipes, and I love that it can be made ahead of time.
2 medium small yellow squash, cut into 1/4" strips
3 medium onions, sliced into 1/4" slices
2 red bell pepper, yes, you guessed it, cut into 1/4" strips
2 tablespoons oil
1-1/2 c frozen corn kernels
1 (15 ounce) can black beans, drained
1/2 bunch cilanto, chopped
Limes, sliced into wedges (for squeezing over fajitas)
Tortillas (corn or flour)
Spanish rice (optional)
Instructions
In a large bowl combine olive oil, lime juice, oregano, chili powder, cumin, garlic powder, salt, and pepper. To the marinade add the zucchini, yellow squash, onion, red pepper and corn. Marinate vegetables in the refrigerator for at least 30 minutes, but not more than 24 hours (we don't want to pickle the veggies here).
Heat oil in a large skillet over medium-high heat. Drain the vegetables slightly and saute until veggies brown and get tender, about 10 to 15 minutes. Stir in beans; increase the heat to high for 5 minutes, to brown vegetables.
I like to serve these with spanish rice and on corn tortillas. My favorite kind of tortillas are Mission White Corn because they taste the closest to fresh and don’t require frying for them to taste good.
I also entered this recipe in a cooking contest. It’s a winner for us.
When my doctor told me my test results showed I was allergic to gluten, eggs, and dairy, she also told me she wanted me to do a candida cleanse for six weeks. This involved also being basically grain-free, which meant no pasta. No pasta for 6 WEEKS!
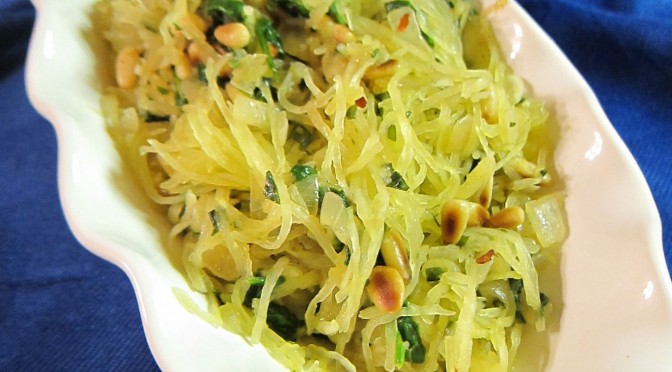
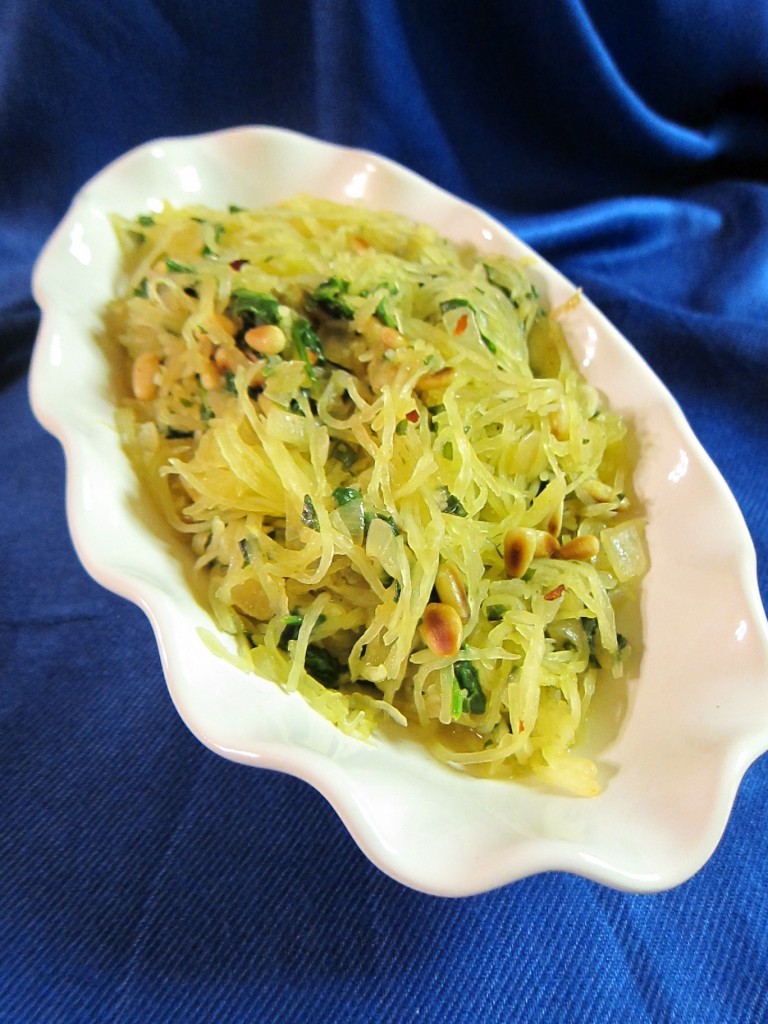
Enter my saving grace: the spaghetti squash. This is such a captivating cucurbit. To me it is literally like magic.
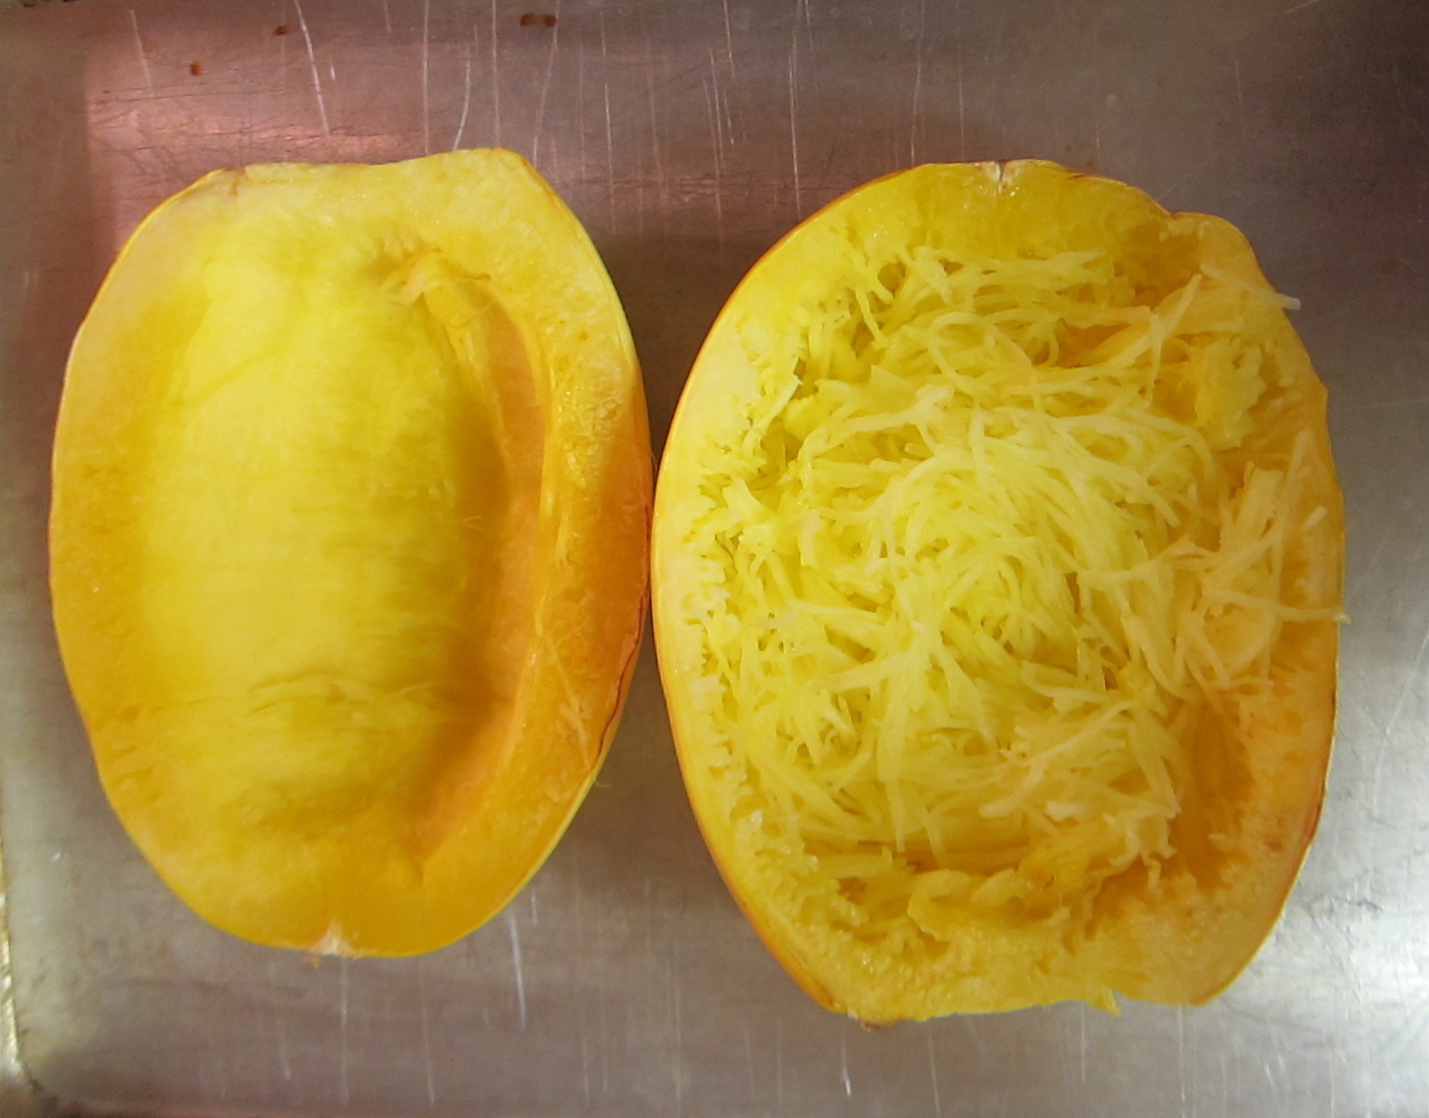
How is it that something can transform from what’s on the left to what’s on the right?
The only tricky part is cutting into it. What I find to be the easiest way is to first cut off the stem end (about a 1/2″ of it). This gives you a more stable platform for cutting. Place it cut-side down, and then cut downwards (See picture below). It’s important to have a good, strong knife to do this. Be careful!
I enjoyed the spaghetti squash so much then that I still have it often even though I can now have gluten-free pasta. I know that there are gluten-free pastas out there, but to me spaghetti squash is a more filling and low-calorie meal (I mean, four cups of the squash ‘noodles’ is under 150 calories).
Preheat oven to 350 degrees. Place squash, cut-side down, on a foil-lined baking sheet. Bake for 35-40 minutes until a fork can easily be inserted into squash. Once it's cooked, remove from oven and flip the squash so cut-side is up. This makes it so the squash doesn't get watery. Let squash cool slightly. Scrape squash into strands with a fork.
While squash is cooking, heat one tablespoon of olive oil in a large skillet over medium heat. Add onions, and 1/2 teaspoon salt and sauté until onions are softened and begin to brown around the edges, about 5 minutes. Add garlic and red pepper flakes, and sauté for about a minute.
Add spinach and spaghetti squash, stir until spinach begins to wilt. Add pine nuts, basil, and toss to combine. Season with salt and freshly ground pepper to taste.